






How to Repair Leather: Fix Cracks, Tears & Scuffs (Step-by-Step)
Quick answer: To repair leather, clean and degrease the area, reinforce any splits or tears with leather binder or a backing patch, fill cracks and scratches with a flexible leather filler, sand smooth, then prime, recolor and seal with a top coat so the repair blends in. Most surface cracks, scuffs and small tears on car seats and furniture can be fixed at home with the right products.
Can you repair leather yourself?
Yes — the majority of everyday leather damage is repairable at home: surface cracks, worn and faded bolsters, scuffs, small cuts and peeling coatings. What matters is using flexible, leather-specific products and preparing the surface properly. Deep structural tears, badly rotted foam or large missing sections are better left to a professional, but even those use the same core system below.
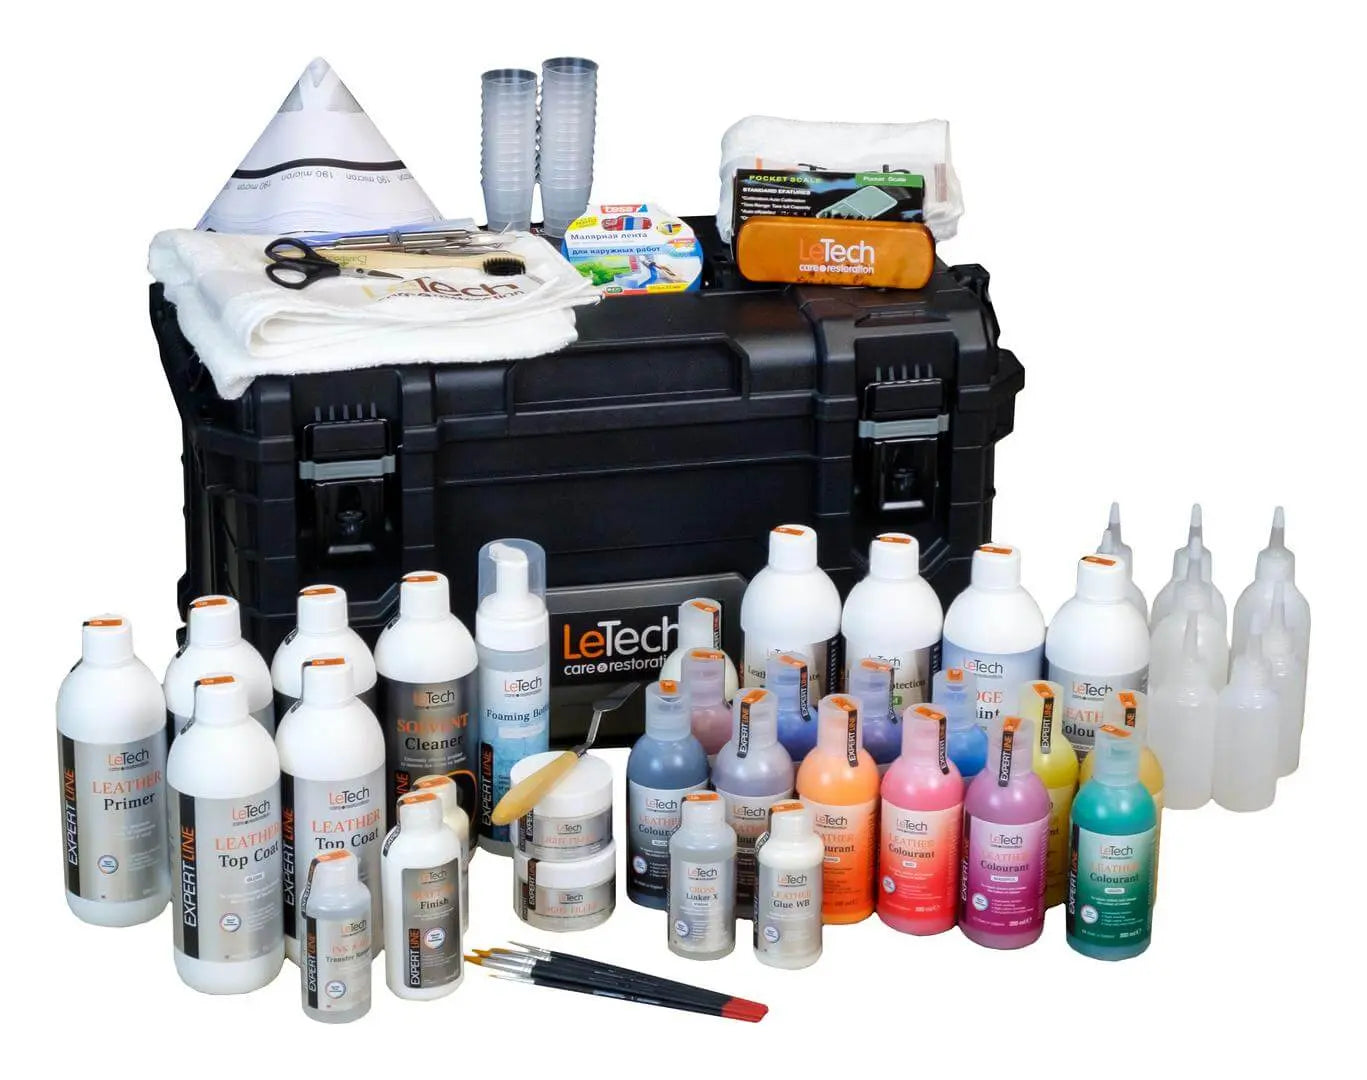
What you'll need
- Leather cleaner & degreaser — to remove oils and grime so repairs bond.
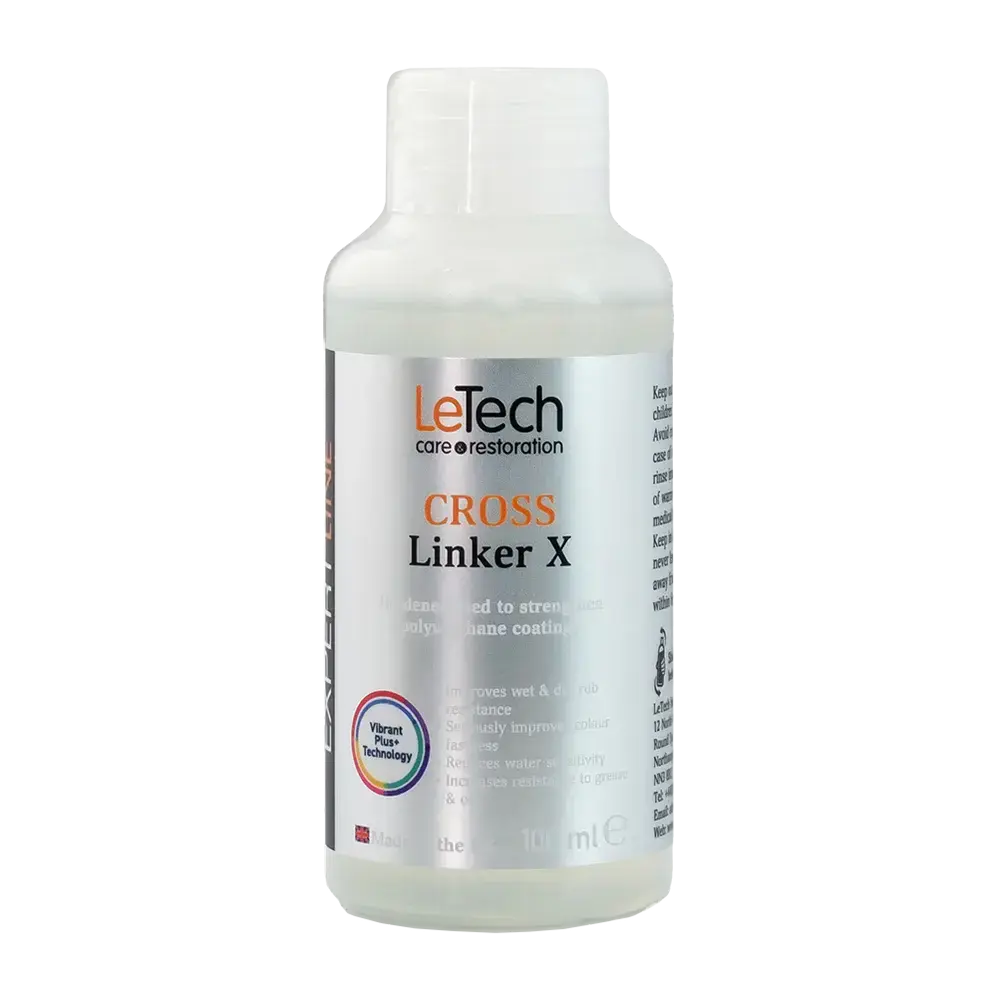
- Leather binder — to strengthen weak, splitting fibers.
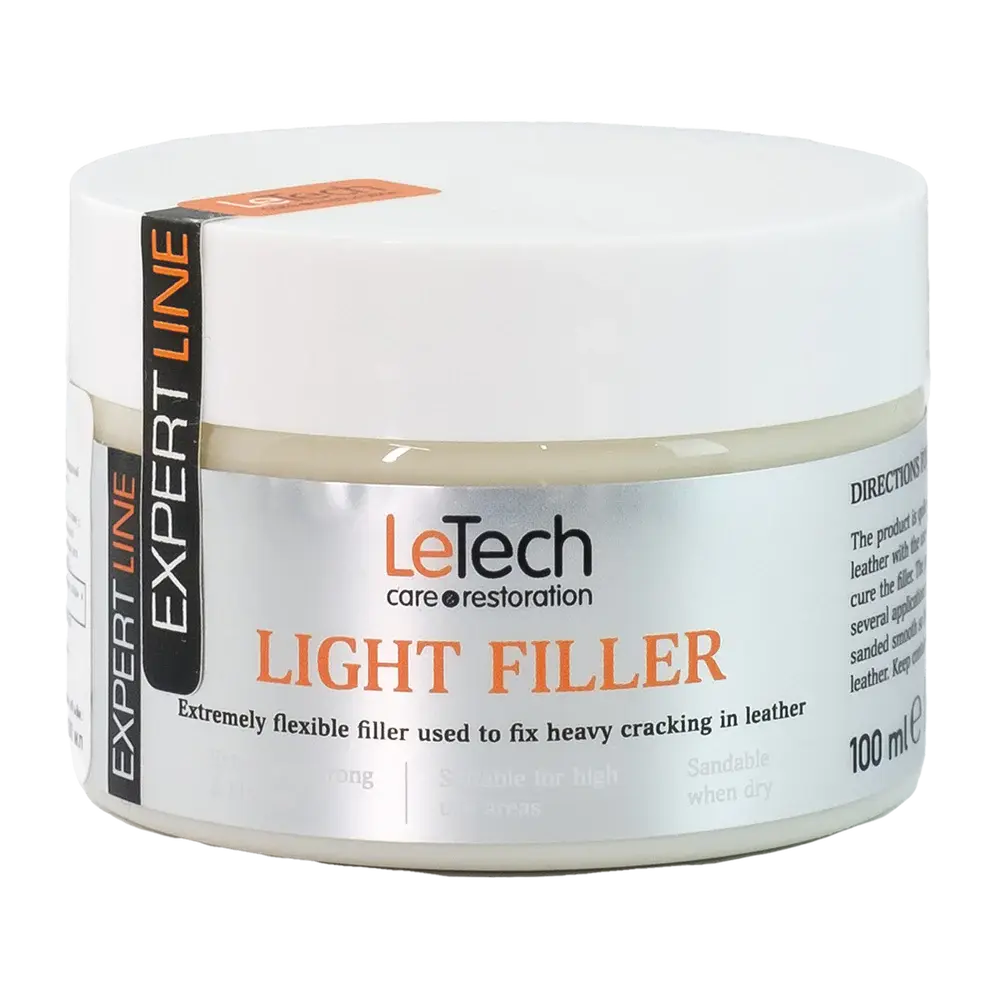
- Flexible leather filler — to rebuild cracks, scratches and scuffs.
- Leather glue and a backing patch — for tears and holes.
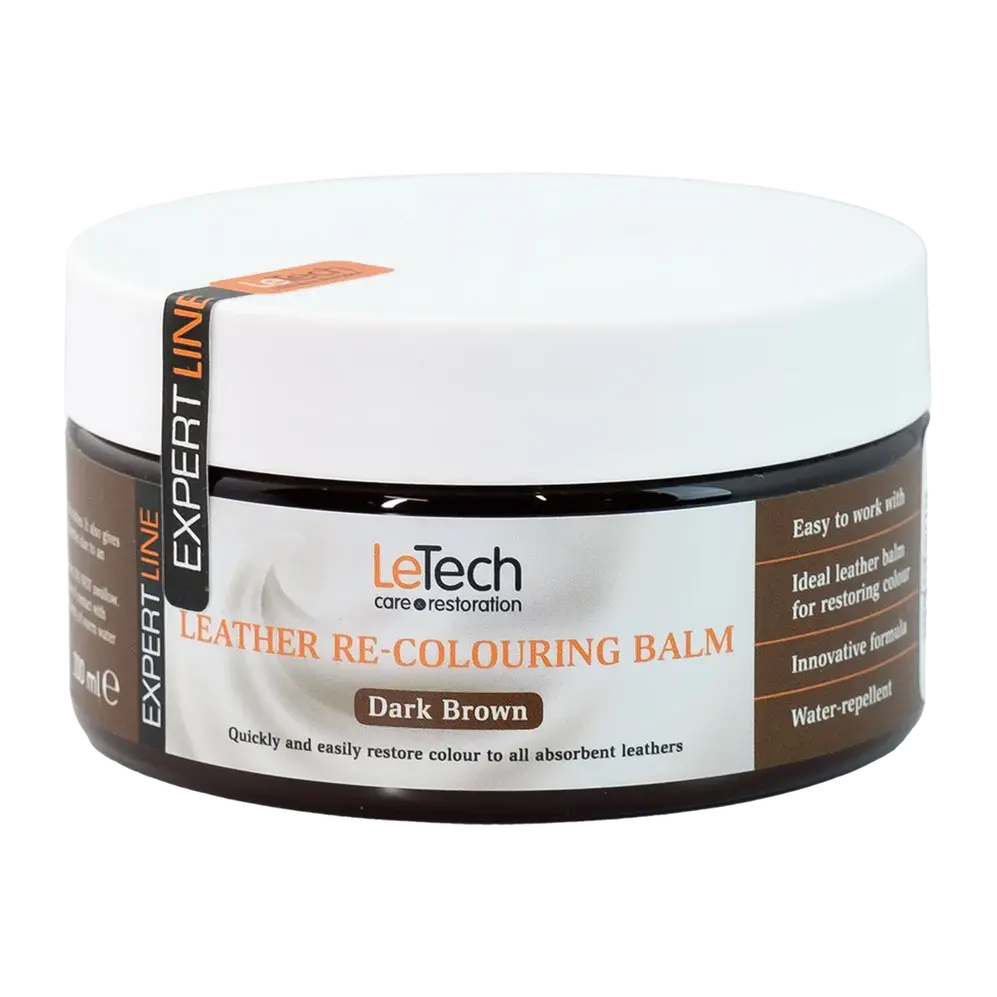
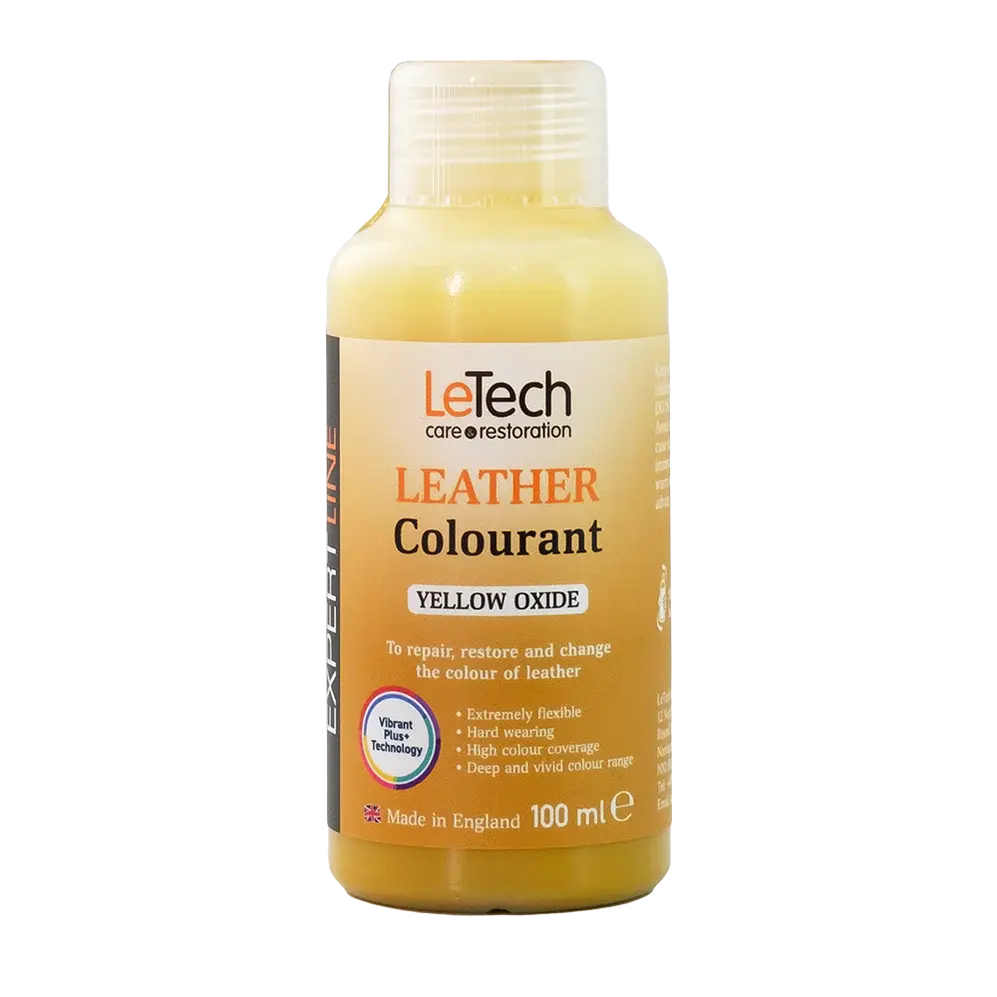
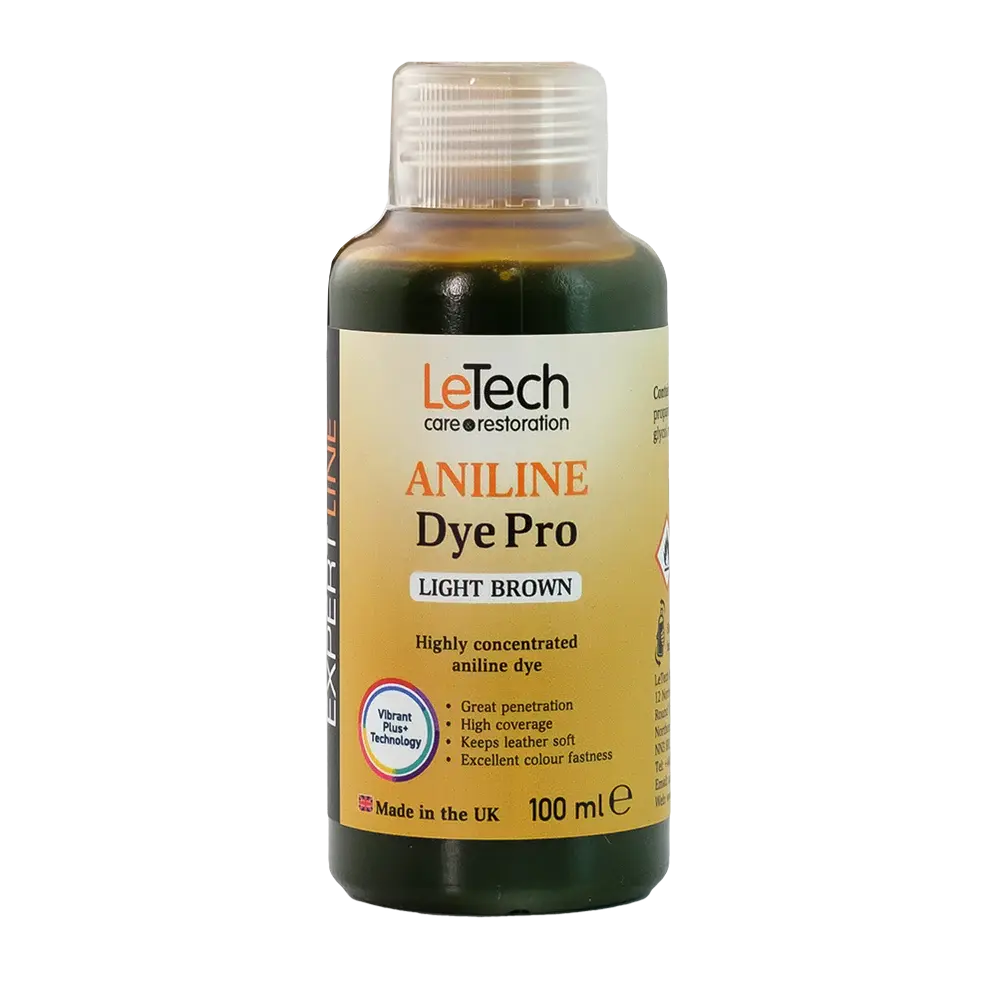
- Primer / prep, colorant and top coat — to recolor and seal the repair.
- A fine sanding pad, an applicator or sponge, and (for texture) a grain pad.
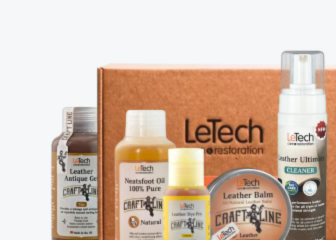
You'll find these in the Leather Repair & Preparation and Leather Dye & Colorant ranges.
Step-by-step: how to repair cracked or torn leather
1. Clean and degrease
Wipe the area with a leather cleaner, then a degreaser, to strip body oils, waxes and silicone. Repairs will not stick to a dirty or oily surface. Let it dry fully.
2. Reinforce tears and splits
For a tear or hole, slide a backing patch under the leather and bond it with flexible leather glue. For weak, thinning or lightly cracked fibers, brush on leather binder to stabilize them before filling.
3. Fill cracks and scratches
Apply thin layers of flexible leather filler with a spatula, letting each layer dry, until the crack or scuff is level with the surrounding surface. Build up gradually rather than in one thick coat.
4. Sand smooth
Once cured, gently sand the filler flush with a fine pad. For visible grain, press a grain pad into the last layer so the repair matches the leather's texture.
5. Prime, recolor and seal
Key the surface with prep, apply primer for adhesion, then build up matching leather colorant in thin coats. Finish with a top coat in the right sheen (matte, satin or gloss) to protect the repair and blend it in. See our full guide to recoloring leather car seats for this stage.
How to stop leather cracking again
Clean regularly, condition every few months to keep the leather supple, and use a UV protection cream on sun-exposed seats and furniture. Most cracking is simply dried-out leather — feeding it is the best prevention.
Frequently asked questions
Can cracked leather car seats be repaired? Yes. Surface cracks and worn bolsters are rebuilt with flexible filler and binder, then recolored and sealed so the repair blends into the surrounding leather.
What's the best filler for leather cracks? A flexible, water-based leather filler that moves with the leather. Rigid household fillers crack straight back out.
How do I fix a tear or hole in leather? Bond a backing patch under the tear with flexible leather glue, then fill, sand, prime and recolor over the top.
Do I have to recolor after repairing? Usually yes — filling and sanding leaves a matte patch, so a thin coat of matching colorant and top coat makes the repair invisible.
Is DIY leather repair permanent? Done correctly — clean, reinforce, fill, prime, color and seal — a home repair is durable, flexible and holds up to daily use.
Ready to start? Shop the Leather Repair & Preparation range, or explore Leather Dye & Colorant to finish the job.

